Associating an Access Group with a Customer
In order to give a customer to access to certain products or product groups via an Access Group, you must first assign that Access Group to them on the associated Customer Information page. The following steps explain how to assign an Access Group to a user.
If the Access Group you want to assign to the customer has not been created yet, you can create the group and assign it to the customer by following the instructions in the Creating a New Access Group topic. If the Access Group has already been created but has not been associated to the customer(s) you want to assign it to, you can do so by following the instructions below.
- Navigate to the Customer Listing page by selecting Customer Portal>Customer Listing. The Customer Listing page appears.
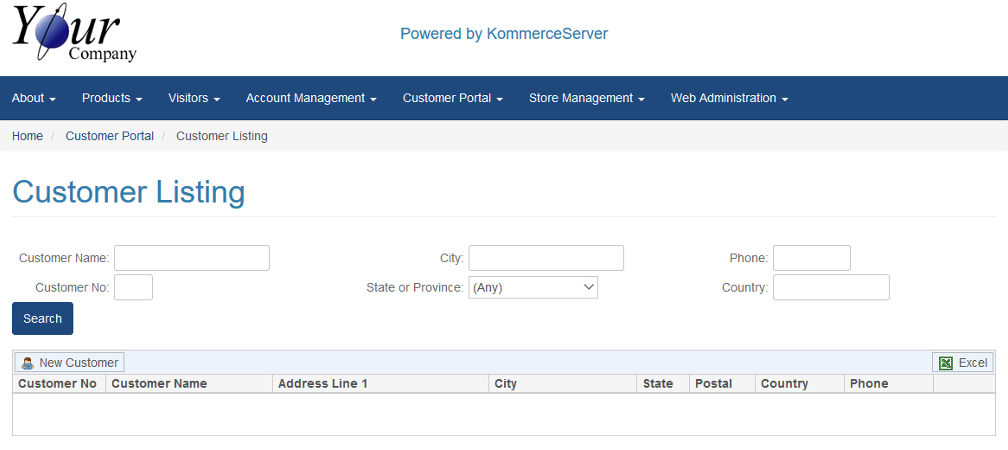
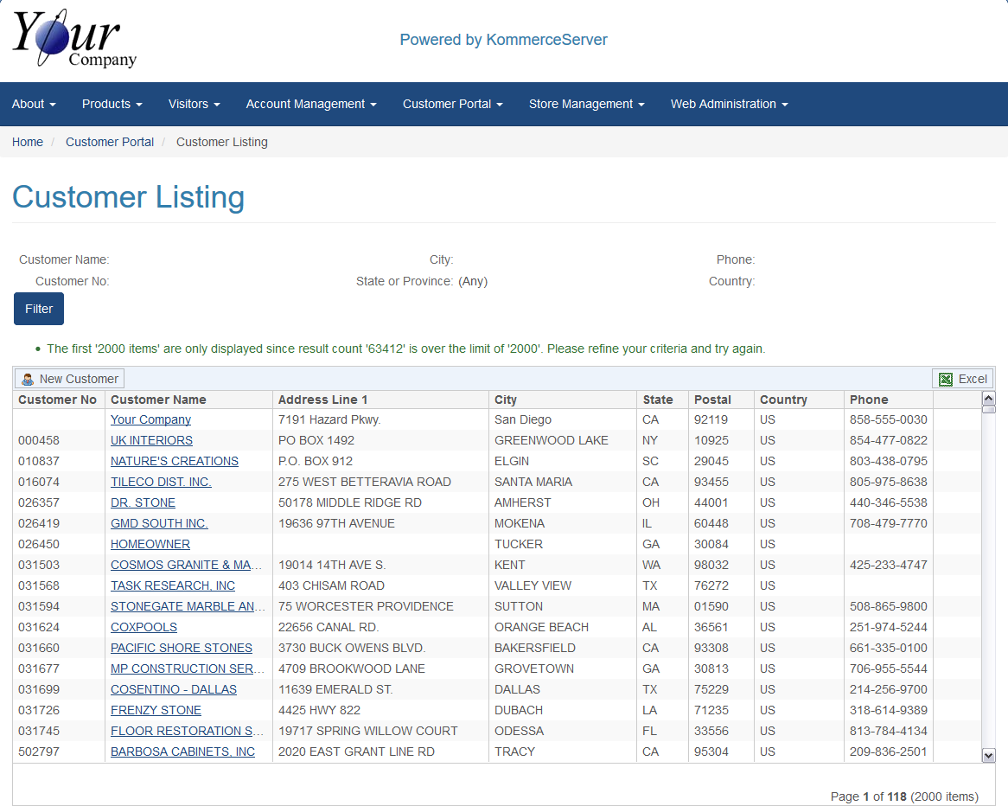
- Use the search filters to search for a specific customer. Optionally, you can click the Search button without entering any search criteria to search for all customers. For this example, we are simply clicking the Search button without entering any search criteria. The results appear at the bottom of the page.
- Select the desired customer link. The Customer Portal home page opens for the customer link you selected.
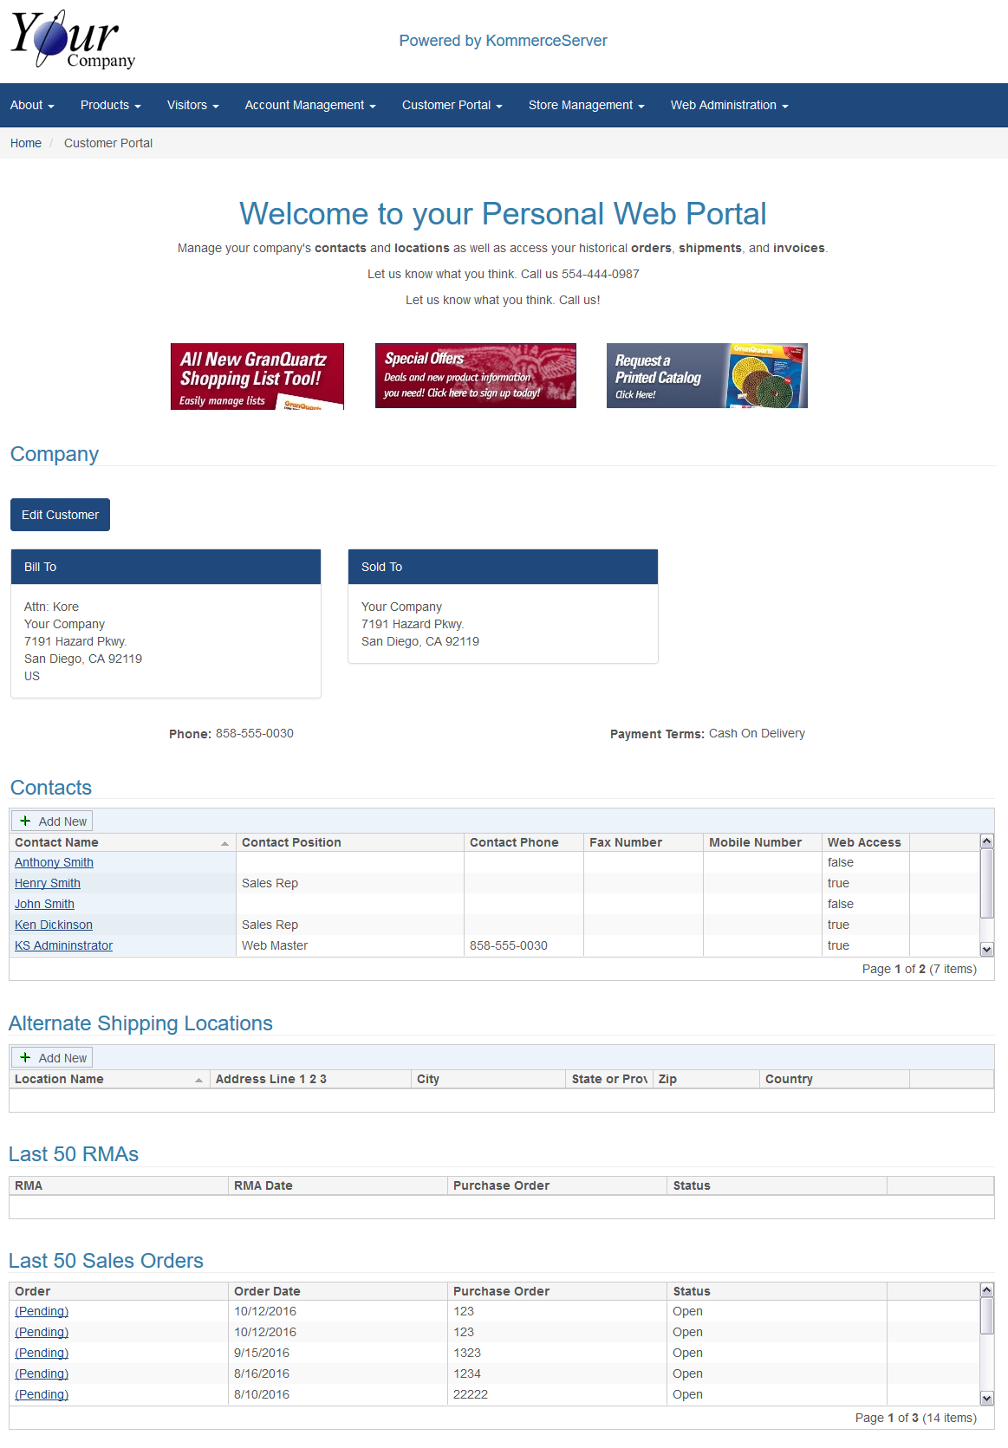
- Click the Edit Customer button. The Customer Information page appears.
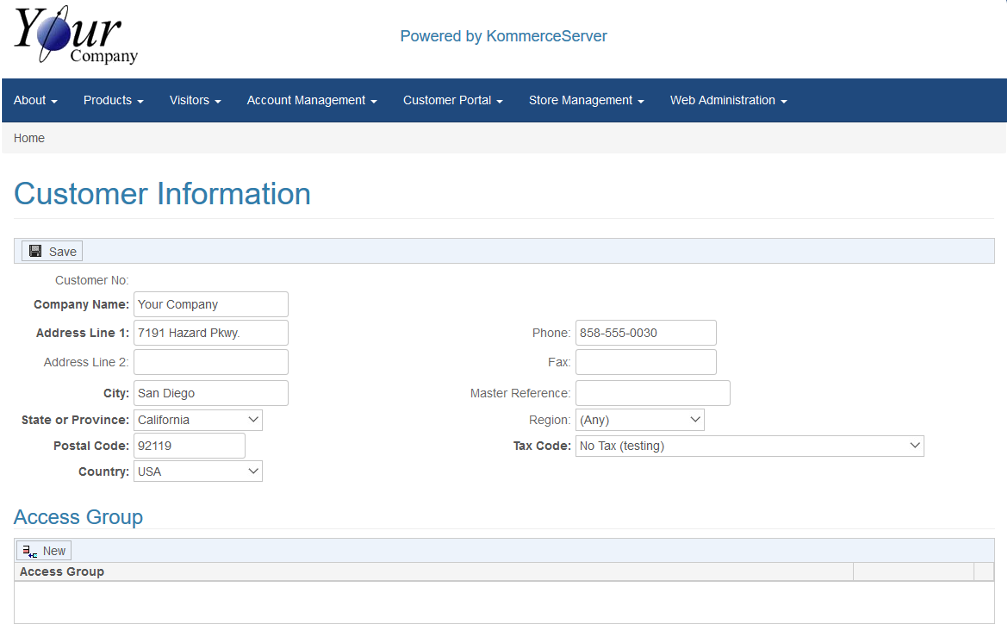
- Click the New button in the Access Group area to assign an Access Group to the customer. An Access Group drop-down menu appears.
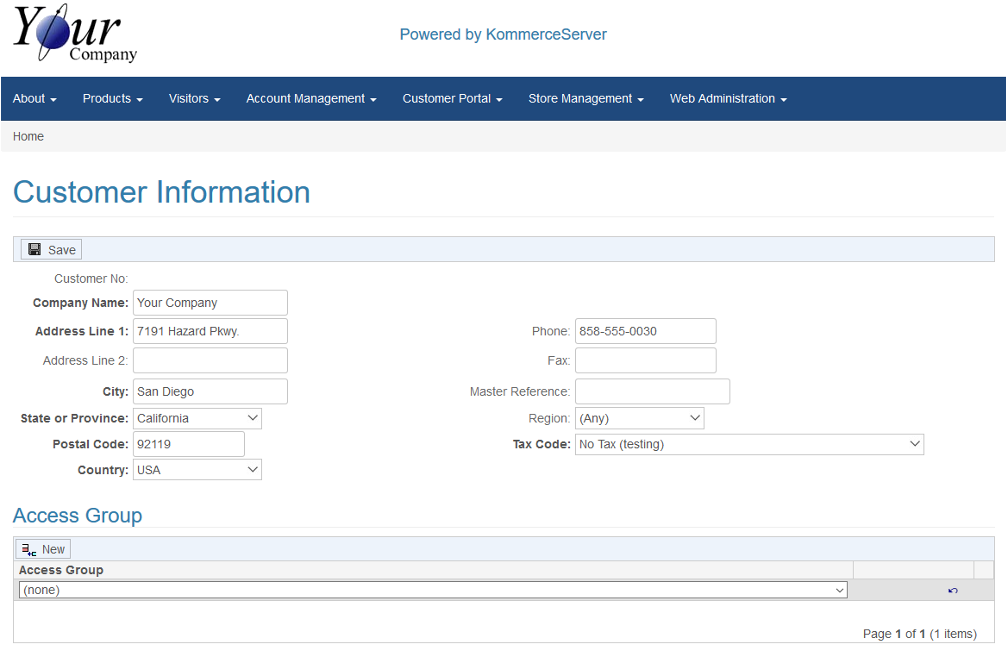
- Select the Access Group you want to assign to the customer from the Access Group drop-down menu.
- Click Save to save your changes.